Drawing
Step 1:
Drawings can be contained in a View object. Create a child class of View to add to your screen.
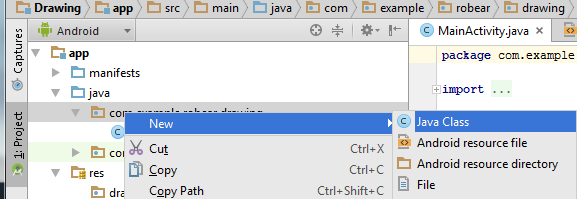
Lets call this class MyDrawing. Make sure to extends View and add a constructor with the following criteria in order for the layout editor to work properly.
import android.content.Context;
import android.util.AttributeSet;
import android.view.View;

public class MyDrawing extends View {

    public MyDrawing(Context context, AttributeSet attrs)
    {
        super(context, attrs);
    }
}
Step 2:
In the MyDrawing class, override the onDraw(Canvas canvas) method.
@Override
protected void onDraw (Canvas canvas)
{

}
Step 3:
Override the onDraw(Canvas canvas) method. Make an instance variable of Paint. Now you can draw things in the onDraw method using canvas and paint to set color.
public class MyDrawing extends View {

    //The paint object is used to set the color in this case
    private Paint paint = new Paint();

    public MyDrawing(Context context, AttributeSet attrs)
    {
        super(context, attrs);
    }

    @Override
    protected void onDraw(Canvas canvas)
    {
        //Sets the color
        paint.setColor( Color.RED );

        //Draw a circle in the center.
        //drawCircle(float cx, float cy, float radius, Paint paint)
        canvas.drawCircle( getWidth()/2 - 25, getHeight()/2 - 25, 50, paint );
    }
}
Step 4:
Add the view to your main activitly layout xml in Design view. Drag in the Custom->CustomView object from the left palette and select the MyDraw class we created.
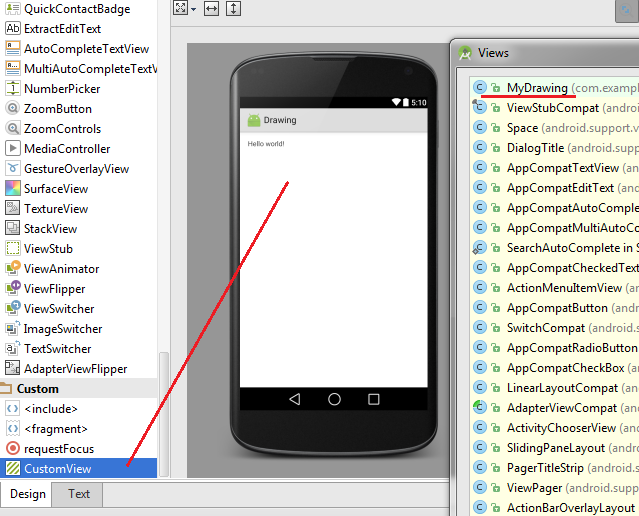
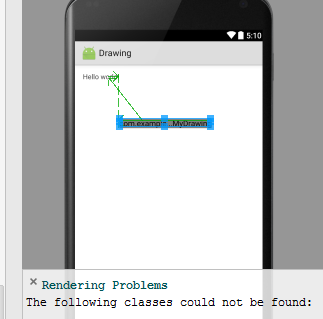
Ignore the rendering error as you will see the results when you run the program.
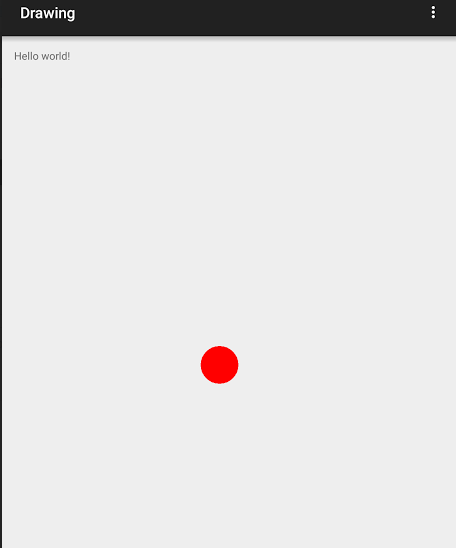
Step 5:
Run it and should see the following.